Showing posts with label bows. Show all posts

Monday, February 24, 2014

(SSS) Stylish Smithereens Shop Update #1 , 2014

I was kind of really torn on whether or not to call this shop update number 3 or start again at 1 for the new year, because I kind of want to do these updates as a quarterly thing for the year. Kind of like a newsletter, you know?


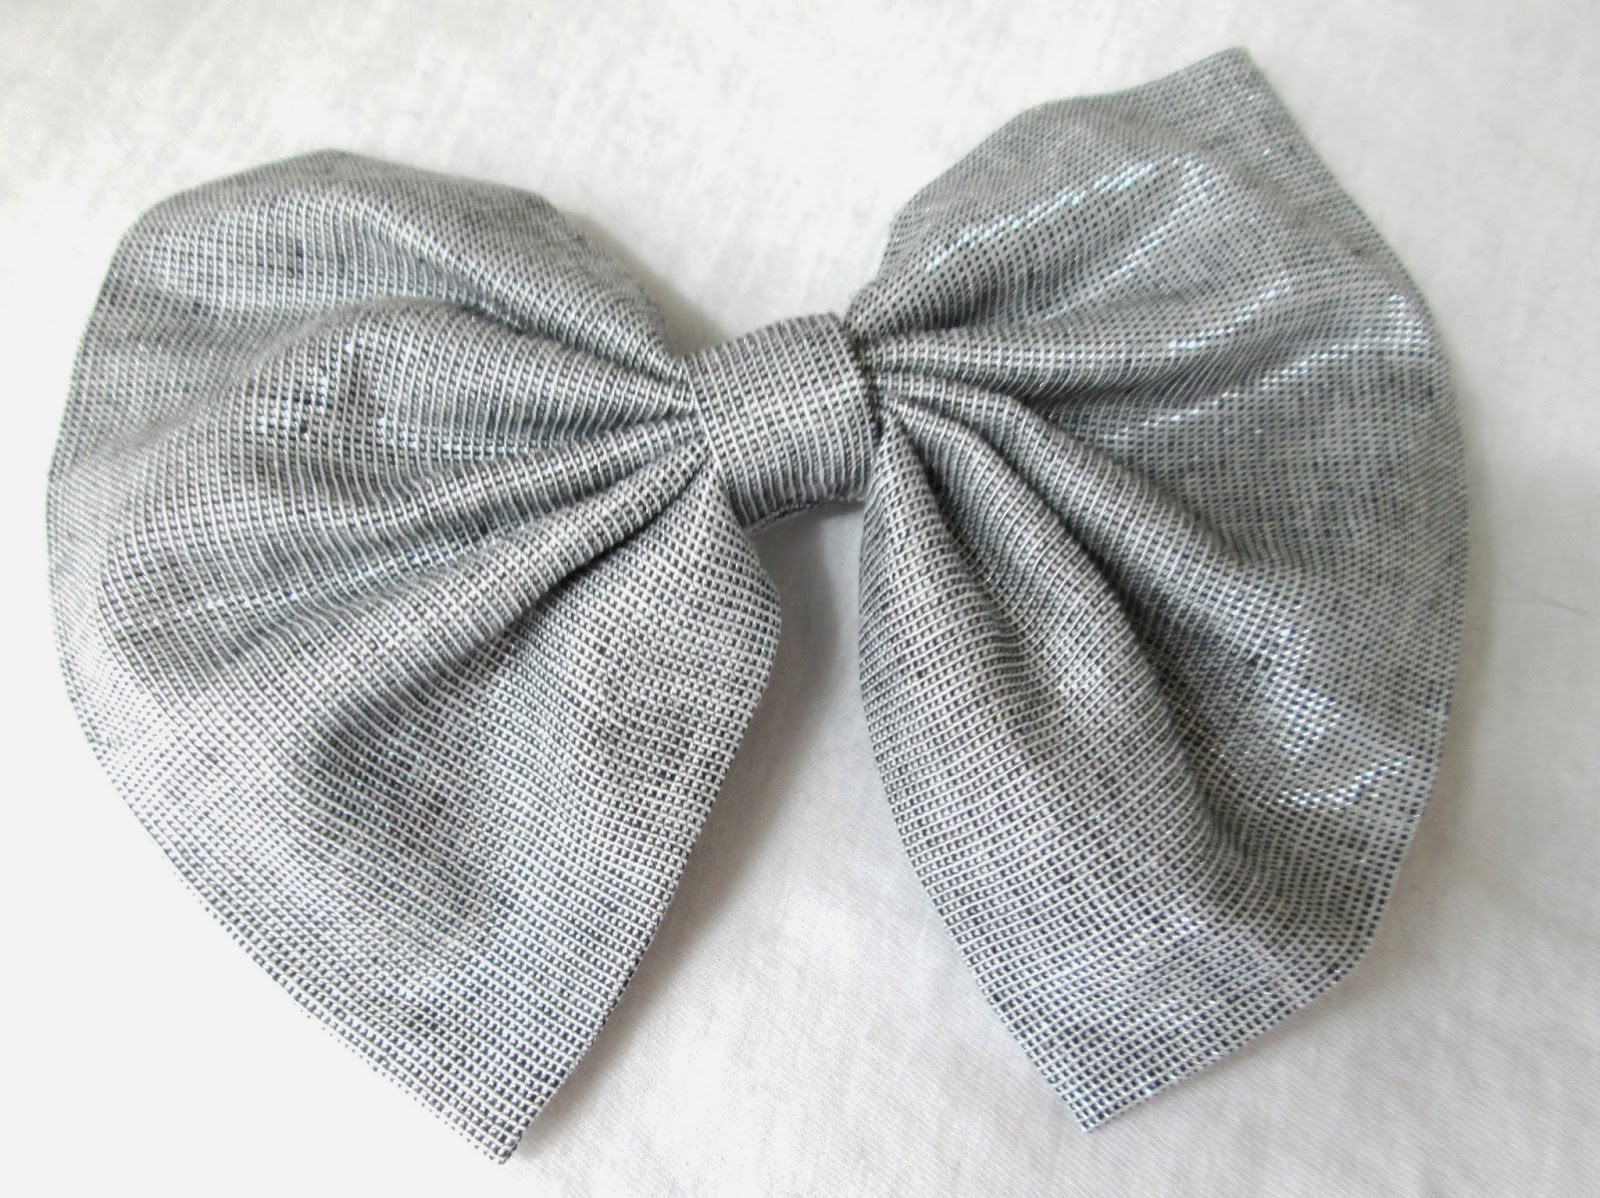
First of all, I have been cranking out bows like crazy. Which is weird because that's what all my friends are making as well. I feel almost bad as if I have copied them, but I know I did not. But I have been trying to use different and unique fabrics and am even expecting some kawaii fabric from Japan in the next couple of weeks. So after I receive that, I think I'll take a break from bows and work on something else.


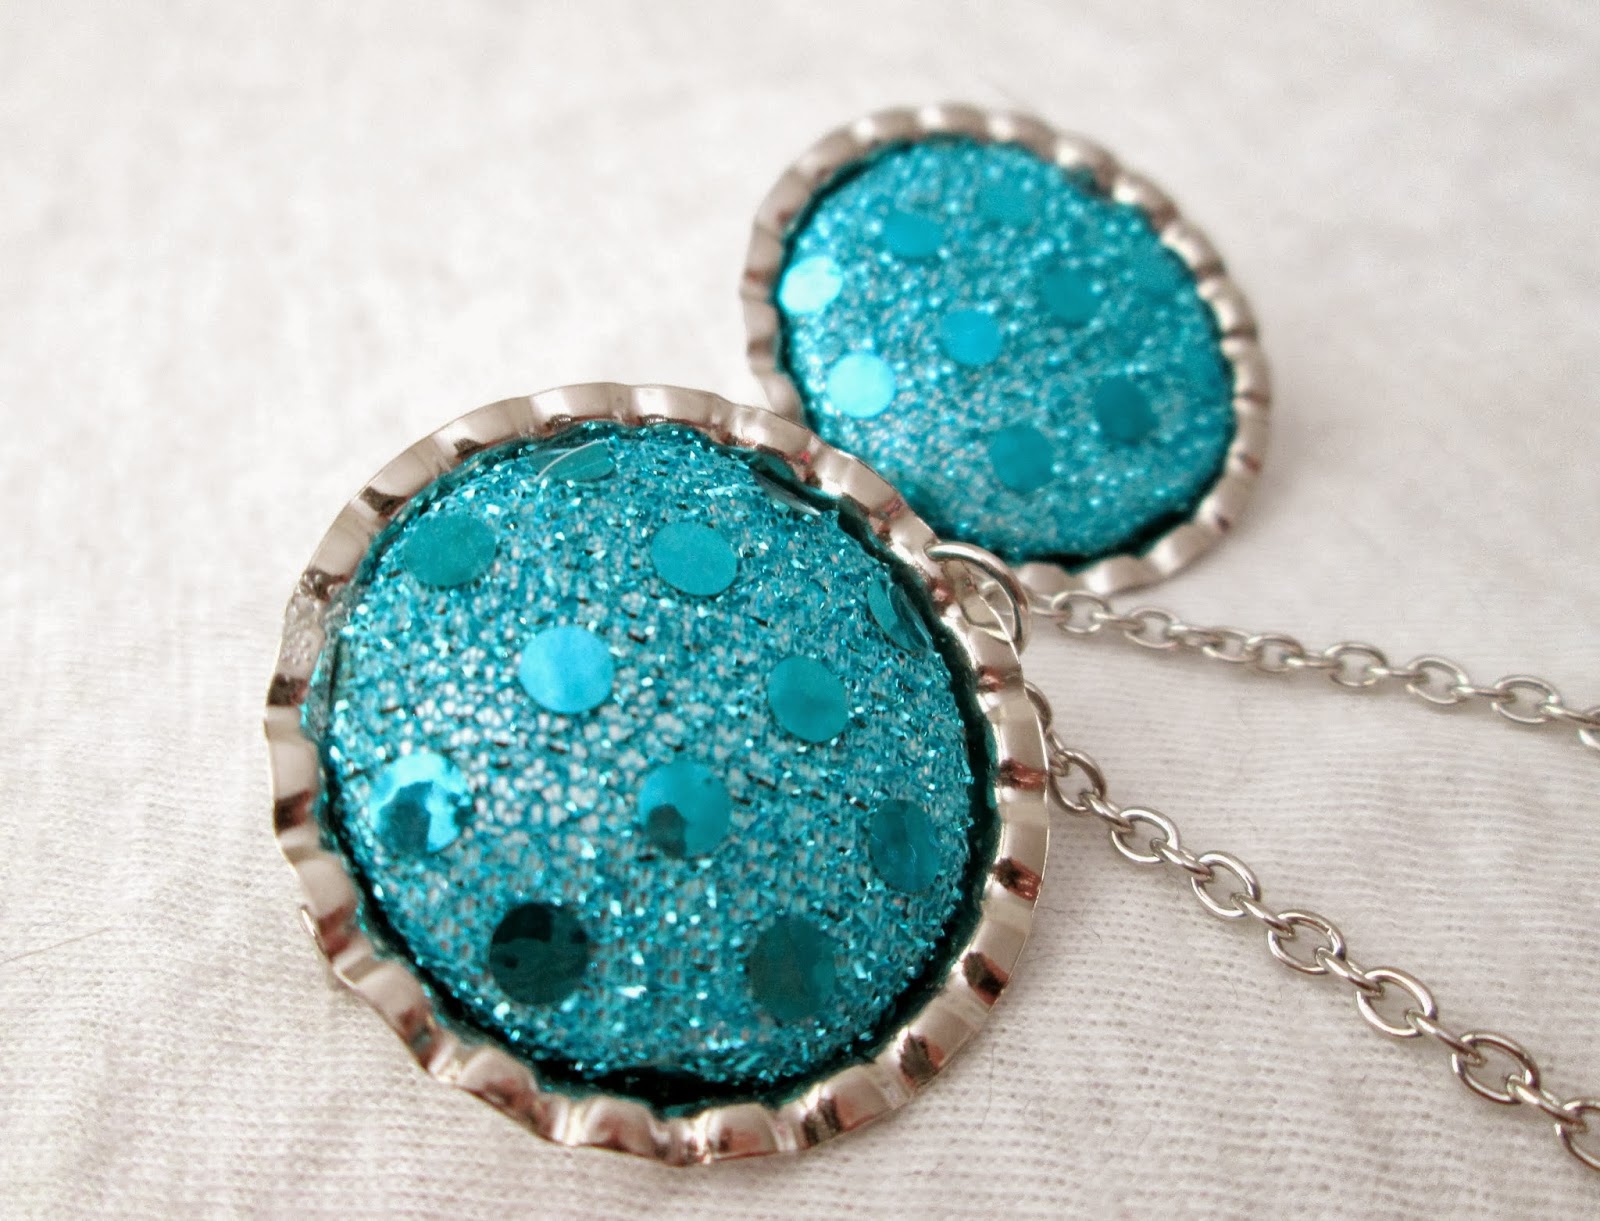
These sweater clips / lapel pins are something I have had pre-made for a while but never got around to listing. And I do still have a few of the ones I listed before (the bows with rhinestones), they are tangled and some have even come un-glued. So I'll need to re-work those for fall. These were one of those items that were probably better off being listed in the fall, but we'll see what happens. I may let the expire then re-list when that time comes. But who even knows, as people who work desk jobs get to wear fun stuff like this all the time. It's one of those items...



This duo chain ring is another one of those items that I have recently re-listed. I found it in my business cards thinking it was busted, but it was in perfect condition. It's a really fun ring and looks great when you move your hands a lot and such. So it's a re-list as well.


 There are also some new cell phone charms showing up. I know that not a lot of people have a place for the charms on their phones anymore so I am now including dust plugs will all cell phone charm orders. But these are also great for cameras, bags, purses and wherever else you want to tether them. I have literally thousands of the cell phone straps and even have listings up for purchase in quantities of 10 at a time. I know I will never use that many myself.


Fleece dog toys are another one of our new items. I made one for my Shar-Pei for Christmas and she loved it so I started buying remnants of fleece and making more of these. And although I haven't had any purchased on Etsy (just a few orders at work) they are getting a lot of attention. Someone want to put some in something like the Bark Box (monthly subscription box for dogs), but this will go to shelter dogs based off of donations, and I'm going to have a featurette in an article on SheKnows.com and I am waiting for the girl to get back to me on that one with the link as it's still being written.


These are the crafts that I want to finish within the next 2 weeks:

  • finish knitting teddy bear for Chelsea (she's having a baby and it will be part of my gift for him)
  • possibly make / list another teddy bear for the shop
  • create clay cabochons to list (I want to create my own design)
  • make crayons to sell in the shop (I have some really cool molds for that)
  • finish knitting the grey cowl I am working on (have been working on it since day after Christmas)
  • work on knitting knowledge tutorial for YouTube (now for this I actually kind of have a legitimate excuse for not having done this yet. I was going to on Saturday, but my brother ended up in hospital and it was really bad. It still kind of is, but we'll know for sure tomorrow. I don't really want to go into details. But please don't think I'm a horrible person for coming online and updating my shop or IG accounts. I didn't do ANYTHING the first day. I couldn't handle it. I was so overwhelmed and depressed and now I just figure since we're all just waiting... I need somewhere to vent and something to do. So I am here, albeit a little less.)
So that's all for this now quarterly update (I think I'll do them in the middle of the quarter, or more often if I find it fitting). Please be patient with me as I am coping with some hard stuff right now and just understand that I can't talk about it yet.

Saturday, February 15, 2014

How To: How to Make Boutique Style Ribbon Bows

Hi friends, I've been super busy lately and that would explain partially, my lack of posts. The other part is that I'm really lazy. Anyway, enough about slacking and further slacking. I have a bow tutorial for you all today!


Supplies Needed:
- grosgrain ribbon that measures 1.5 inches
- smaller ribbon to wrap around the middle (I used one that measures 3/8 inch)
- a glue gun & glue sticks
- any kind of hair barrette you want (I used a long metal barrette these long barrettes.)
- a lighter


LET'S GET STARTED!

First of all measure out and cut two 8 inch segments from your larger 1.5 inch ribbon. Heat seal your ends then fold this ribbon directly in half (do for both edges on both pieces of ribbon).


Leave a small crease in the ribbon with your nail if you are able. Then fold each end of the ribbon in to meet that middle crease.


Add a thin line of glue from your flue gun and glue and secure those ends to the middle. Do this twice with the two separate pieces of ribbon. One will be for the top of the bow and one for the bottom.


Next, fold your glued ribbon in half 'hot dog style' and hold with your fingers to create a small crease, add a small dot of glue directly in the middle of your crease and hold until dry and cool.


Next, fold the top part of the ribbon you just glued back from the dried glue and glue that portion of the ribbon to the back (on top of) the glue you just allowed to dry. Repeat for the bottom. See images if this makes no sense.


Now you are going to want to make sure everything is fluffed out the way you want the bows to look and line up the ribbons so that they are stacked upon each other. Once you are satisfied glue them into place.


Place these ribbons aside to dry and measure out your 3/8 into one 4 inch segment and one segment that is long enough to cover and slightly overlap your barrette. Heat seal all of these ends. Go ahead and glue down your shorter segment of ribbon to cover your barrette and overlap and glue your edges down to the bottom of the barrette.


Once the glue has dried, line up your barrette to the back of your bow and glue the middle and ends down to the ribbon. Now you can align the other piece of 3/8 ribbon and begin to wrap and glue it around as you go. Mainly glue down the backs and sides as necessary.


And that's it! Fluff them out and slap them on your head as a last minute accessory! Play around with different ribbons and cabochons if you are feeling adventurous. My tribal / aztec bow actually has 3 eight inch segments of ribbon and a really cute cabochon glued to the front of it.

Sunday, September 22, 2013

(SSS) Stylish Smithereens Shop Update #2

Hello friends. I thought it was time for another shop update since I've listed more things in my shop and I figured that I would show off some of the stuff I've made.

Halloween Black Cat Dangle Earrings with Swarovski Crystals

Hello Kitty Bow Ribbon Statement Necklaces

Multi-Colored Owl Mug Cozys

Faux Druzy Bobby Pins

And back by popular demand are my Skeleton Hand Hair Clips. I swear that between work and Etsy, I have sold around 40 pairs of these.


I have really been hitting the knitting needles hard since autumn and winter are just around the corner. I will soon have Hello Kitty beanie hats and boot cuff/ leg warmers available so that's exciting.

That's all I have to announce. I hope you all had a great weekend! I'm ready for a productive then relaxing birthday week and vacation ahead of us!

Tuesday, July 30, 2013

Product Review: Avon Nail Art Design Strips


Today I want to do something different for this blog. I want to do a product review. I see makeup and nail art to be somewhat of an artistic and creative outlet that allows individuals to wear their personalities in a somewhat subtle way when clothing and other outlets have been stifled.

You may be familiar with Avon products as the name has been around since 1886, providing all sorts of things for women and their families. Popular products included perfumes, ANEW brand products and Skin So Soft. Recently, a friend of mine has started to sell Avon products and I am thrilled (my dwindling paycheck is the proof there).

I bought the two nail strip sets you see above and thought tonight that I wanted to spruce up my nails, but didn't like the hassle of being in 'Wet Nail Jail' as I like to call it. I got out my strips, a pair of scissors, and a nail file. I also had pushed back my cuticles prior to application.

These are super simple to use and are essentially stickers but with a super adhesive that makes them last for weeks. There are easy to follow instructions on the back, but having tried Sally Hansen's version of these strips I was familiar with the method. I stuck the sticker that best fit my nail to the base of my nail and rubbed it out towards the top of my nail so not to get wrinkles or bubbles. I then rubbed it down with one of those wooden sticks that are flat-angled  on one end and pushed the sticker down again in all angles. I folded over the excess of strip that was not on my nail then cut it off. Finally, I filed down the small sharp pieces. It was as easy as that. I find that I can get nail strips to last one more week (they are said to last around 2) by coating my nails in a clear top coat of Sally Hansen's Tough as Nails.

My only complaint is not about the product itself but about my nails! My nails are oddly shaped and sometimes the sticker is not wide enough. Stinking genetics...